

USD/JPY Intervention Analysis: How the BOJ Moves the Pair

The Bank of Japan’s hidden hand can reshape USD/JPY within minutes. This analysis breaks down the mechanics, signals, and practical steps traders need to capture the move while managing risk.
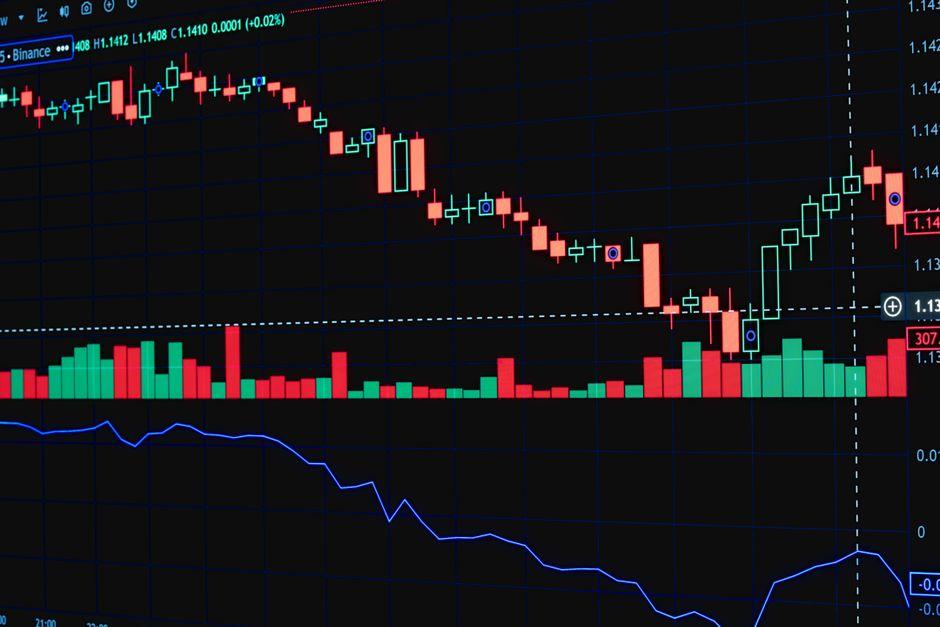
How to Use MT5 One-Click Dashboard for Fast Scalping
Turn MetaTrader 5’s One‑Click Dashboard into a scalping cockpit. This guide walks you through configuration, real‑time risk controls, and concrete EUR/USD and GBP/JPY examples so you can capture pips without excessive slippage.

How to Sync TradingView Layouts Across Web and Mobile
Keeping your chart setups identical on every screen prevents missed signals and saves time. This guide walks you through the exact steps, pitfalls, and best‑practice tips for syncing TradingView layouts across web and mobile devices.

Optimizing Chart Memory in MT5: A Performance‑First Guide
A fast‑moving EUR/USD scalper can shave milliseconds off chart redraws by trimming MT5 memory usage. This guide shows the mechanics, risks, and concrete steps to keep your terminal responsive.

How to Backtest Portfolio Strategies on TradingView Premium
TradingView Premium lets you test whole portfolios, not just single tickers. This guide walks through building a multi‑symbol script, aggregating results, and adding realistic cost assumptions so you can evaluate drawdowns and risk‑adjusted returns with…

How to Add Custom Range Bars and Renko Charts on MT5
Adding custom range bars and Renko charts to MT5 lets traders cut through noisy time‑based candles. This guide walks through the algorithm, MQL5 implementation, and real‑world use cases, so you can deploy the charts confidently.

Top TradingView Plugins for 2026: Profit‑Boosting Tools
Professionals are turning free TradingView charts into a competitive edge by adding plugins that automate alerts, synchronize layouts, and connect directly to brokers. This guide breaks down the most profitable extensions for 2026 and shows how to use…

How to Build a Custom Multi‑Timeframe Dashboard in MT5
A custom multi‑timeframe dashboard lets you watch trend, momentum and risk metrics in one pane. This guide walks you through building such a dashboard in MT5, from data aggregation to live refresh, with concrete forex examples and practical tips.

How to Set Multi‑Chart Layouts for Correlation Analysis
Building a disciplined multi‑chart workstation lets traders see hidden asset relationships in real time. This guide walks you through setting up synchronized charts, adding correlation overlays, and avoiding common pitfalls, so you can time entries with…

How to Create Custom Drawings & Templates on TradingView
Master TradingView’s custom drawing tools and template system to turn static charts into dynamic workspaces. This guide walks you through the mechanics, practical steps, and risk considerations for building reusable analysis setups.

Mastering Pure Price Action for Consistent Market Edge
Pure price‑action trading strips away lagging indicators and focuses on raw market intent. This guide walks you through the core concepts, real‑world examples, and practical steps to build a repeatable edge.

How Trendline Liquidity Sweeps Trigger Reversals
Trendline liquidity sweeps expose hidden stop clusters, forcing sharp moves that often precede reliable reversals. This guide explains the mechanics, shows real‑world charts, and offers a step‑by‑step trading framework.

Market Structure Mapping for Crypto Swing Trades Strategy
Swing traders who ignore market structure often miss the price‑action cues that precede major moves. This guide shows how to map structure on crypto charts, turn patterns into entries, and protect capital against false breakouts.

How Multi-Timeframe Confluence Eliminates Chart Noise
Aligning signals across several timeframes acts as a natural filter, stripping away market chatter and letting traders lock onto higher‑probability setups. This guide shows the mechanics, step‑by‑step workflow, and real‑world examples for both…

Advanced Pin Bar Strategies for High‑Volatility FX
Advanced pin bars can capture sharp moves when the forex market spikes. This guide breaks down the mechanics, shows real‑time setups, and equips you with risk‑aware tactics for volatile sessions.

Wyckoff Re‑Accumulation: How to Add to Winning Trades Safely
The Wyckoff re‑accumulation phase offers a disciplined way to add to winners. This article walks through how to identify the spring, confirm the secondary test, and scale in with real‑world charts from AAPL and ES futures.

How to Trade Expansion Phase Breakouts in Commodity Futures
Expansion‑phase breakouts can generate sharp moves in commodity futures, but they demand precise entry, stop‑loss and sizing rules. This guide walks you through the mechanics, real‑world examples and pitfalls to keep your risk in check.

How Price Action Traders Spot Real vs Fake Trendlines
Distinguish real from fake trendlines with proven price‑action rules, learn how to confirm lines on multiple time‑frames, and avoid common pitfalls that trap many traders.

How Key Levels Shift During High‑Volume Trading Sessions
High‑volume sessions can rewrite the map of support and resistance in minutes. This guide explains the mechanics behind those shifts and offers a step‑by‑step method to adjust your key levels on the fly.

Advanced Engulfing Pattern Setups with Volume Confluence
Pairing advanced engulfing candles with strong volume signals can sharpen entry timing and improve win rates. This guide walks through the mechanics, real‑world examples, and disciplined steps to use the setup responsibly.

How to Map Complex Pullbacks vs Simple Pullbacks Guide
Distinguish and chart complex pullbacks from simple ones with a practical framework that blends Fibonacci clusters, multi‑timeframe moving averages, and VWAP‑OBV divergence. Real examples from AAPL and crude oil illustrate each step.

How Point‑and‑Figure Charts Reveal True Market Trends
Point‑and‑figure charts discard time and focus solely on price movement, letting traders see trends that candlesticks often hide. This guide walks you through setting up the chart, reading patterns, and avoiding common pitfalls.

How to Read Candlestick Wicks: Rejection vs Liquidity Grab
Candlestick wicks hide a story of price rejection or liquidity hunting. This guide shows how to read those wicks, spot the difference, and apply the insight to real‑world trades.

How Delta Divergence Signals Smart Money Absorption
Delta divergence compares price moves against cumulative delta to expose hidden smart‑money activity. This guide explains the mechanics, shows real‑world futures examples, and offers actionable steps for traders of all levels.

Multi‑Timeframe Structure Mapping: From Daily to 1‑Minute
Translating a daily bullish flag into a 1‑minute entry can tighten risk and boost reward. This article breaks down the mechanics, steps, and common errors of multi‑timeframe structure mapping for active traders.

How to Identify Wyckoff Distribution Phases in US Stocks
Spotting Wyckoff distribution phases lets traders anticipate institutional selling in U.S. equities. This guide breaks down each phase with real‑world charts, actionable steps, and risk‑aware tips.

Wyckoff Accumulation: Springs and Test Entries Explained
The Wyckoff accumulation schematic hinges on springs—sharp false breakouts below support—and the subsequent test entries that confirm demand. This article breaks down the mechanics, shows real‑world charts, and offers actionable tips for disciplined…
ICT Price Action for NQ & ES Futures: Practical Guide
Michael J. Huddleston’s ICT price‑action methods can sharpen entries on Nasdaq and S&P 500 futures. This guide breaks down order blocks, liquidity voids, and structure shifts with real‑time examples and actionable steps.

Refining 4-Hour Fair Value Gaps for Precise 1-Minute Entries
Sharpen your 4‑hour fair‑value‑gap signals into razor‑thin 1‑minute entries. This guide walks you through detection, alignment, and risk control, with real‑world forex and futures examples.

How to Avoid Low‑Resistance Liquidity Traps – Guide
Low‑resistance liquidity traps can erase a day trader’s gains in minutes. This guide shows how to detect thin order‑book zones, adjust spreads, and set exits that keep you out of the most common pitfalls.