

How to Trade Forex Asian Session Range Expansions Guide

The Asian session’s tight liquidity can turn a modest range into a high‑probability breakout. This guide shows you how to spot those expansions, confirm them with price‑action and delta volume, and manage risk with disciplined entries.
TradingView Bar Replay: Master Price‑Action Drills
The TradingView bar replay lets you step through historical price bars as if watching a live market. By turning that capability into disciplined drills, you can sharpen entry timing, test stop placement, and build confidence without committing capital.

Pine Script Heatmaps – Visualize Volume Density for Better Trades
Turn raw volume data into a color‑coded heatmap with Pine Script, then use the visual cue to spot accumulation zones, gaps, and breakout opportunities across equities and forex.

Build a Custom Breaker Block Detector on TradingView
A hands‑on tutorial walks you through coding, testing, and deploying a bespoke breaker‑block detector on TradingView, letting you spot high‑probability reversal zones without relying on generic indicators.

How to Add Custom Range Bars and Renko Charts on MT5
Adding custom range bars and Renko charts to MT5 lets traders cut through noisy time‑based candles. This guide walks through the algorithm, MQL5 implementation, and real‑world use cases, so you can deploy the charts confidently.

Mastering Pure Price Action for Consistent Market Edge
Pure price‑action trading strips away lagging indicators and focuses on raw market intent. This guide walks you through the core concepts, real‑world examples, and practical steps to build a repeatable edge.

Reading TPO Charts Like a Pro: A Practical Guide for Traders
A TPO chart is a battlefield map of price and time. This guide breaks down the core components, shows how pros extract trade edges, and warns of the pitfalls that can erode every advantage.

How Price Action Rejections Form at Macro Supply Zones
Macro supply zones act as magnets for large order flow, creating the conditions for classic price‑action rejections. This article breaks down the underlying mechanics, shows real‑world examples, and offers a step‑by‑step framework for traders who want to…

How Multi-Timeframe Confluence Eliminates Chart Noise
Aligning signals across several timeframes acts as a natural filter, stripping away market chatter and letting traders lock onto higher‑probability setups. This guide shows the mechanics, step‑by‑step workflow, and real‑world examples for both…

Wyckoff Re‑Accumulation: How to Add to Winning Trades Safely
The Wyckoff re‑accumulation phase offers a disciplined way to add to winners. This article walks through how to identify the spring, confirm the secondary test, and scale in with real‑world charts from AAPL and ES futures.

How Price Action Traders Spot Real vs Fake Trendlines
Distinguish real from fake trendlines with proven price‑action rules, learn how to confirm lines on multiple time‑frames, and avoid common pitfalls that trap many traders.

Using Market Profile Initial Balance to Predict Day Types
The first 60‑minute Initial Balance on a Market Profile chart often sets the tone for the entire session. This guide shows how to read that balance, classify day types, and apply the insight to stocks like AAPL and ES futures.
How Dynamic Support & Resistance Shift in Volatile Markets
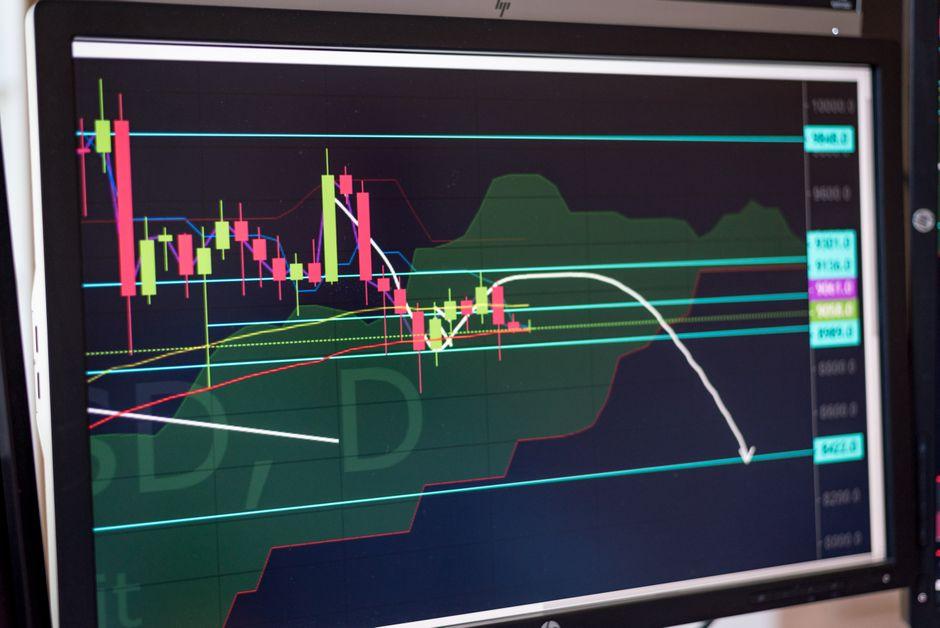
Volatile markets can render static support and resistance useless. This guide shows how to make those levels adaptive using ATR buffers, volatility‑adjusted pivots, and algorithmic trendlines, with concrete examples for SPY and EUR/USD.

How Momentum Candles Reveal Institutional Drive Today
Momentum candles compress volume, price, and time into a single bar, letting traders glimpse institutional intent. This guide explains the core mechanics, real‑world examples, and practical steps to turn those signals into disciplined trades.

How to Identify False Breakouts with Volume Spread Analysis
Volume Spread Analysis reveals hidden effort‑vs‑result imbalances that often precede fake breakouts. This guide walks you through the signals, a practical workflow, and the traps to avoid when trading volatile markets.
Trading Naked: A Pure Price‑Action Guide for Modern Traders
Stripping away every indicator forces traders to read the market’s pure language. This guide shows how to spot order‑flow imbalances, swing structures and liquidity pools for cleaner entries and exits.

Structural Breakout Masterclass: Pair with CHoCH Signals
This masterclass dissects structural breakouts, shows how they differ from Change of Character signals, and provides a concrete workflow that blends both for tighter entries and clearer risk parameters.
Volume Delta vs Price Action: Spot Hidden Reversals Fast
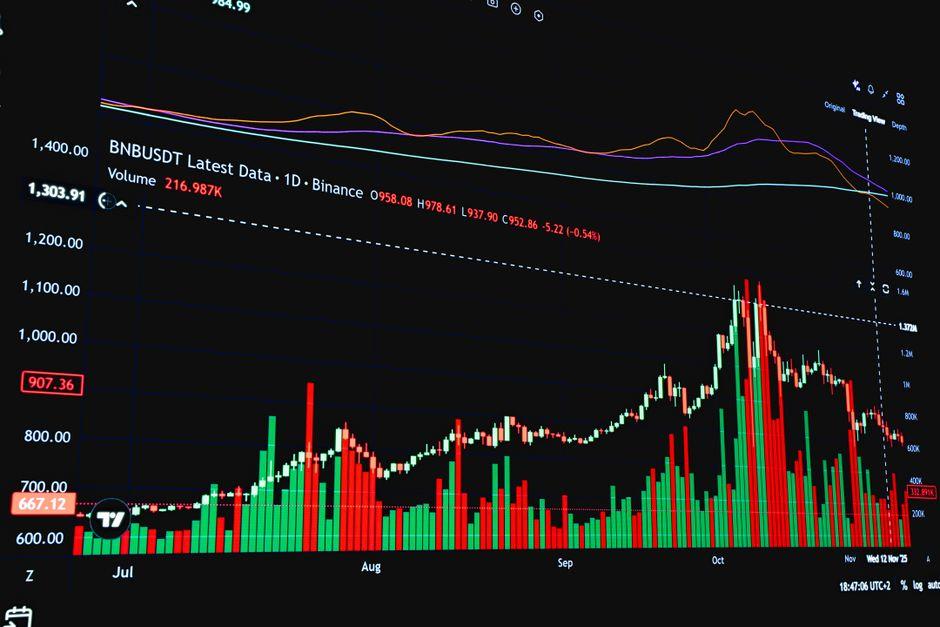
Blending volume delta with traditional price‑action patterns lets traders spot reversals that candles alone miss. This guide walks through the mechanics, real‑world examples, and practical tips to improve signal reliability.

Identifying Strong Highs and Lows: A Practical Guide
Distinguish genuine swing extremes from fleeting noise by combining volume spikes, momentum divergences and order‑flow imbalances. This guide walks you through the mechanics, real‑world examples and actionable steps for better trade decisions.

How to Identify Wyckoff Distribution Phases in US Stocks
Spotting Wyckoff distribution phases lets traders anticipate institutional selling in U.S. equities. This guide breaks down each phase with real‑world charts, actionable steps, and risk‑aware tips.

Wyckoff Accumulation: Springs and Test Entries Explained
The Wyckoff accumulation schematic hinges on springs—sharp false breakouts below support—and the subsequent test entries that confirm demand. This article breaks down the mechanics, shows real‑world charts, and offers actionable tips for disciplined…

Inversion Fair Value Gaps: Setup, Entry Rules & Strategy
Inversion fair value gaps offer a repeatable edge when traders combine order‑flow delta, volume‑profile voids, and precise stop‑run candles. This guide walks through detection, validation, entry and risk control with real‑world examples.

How to Avoid Low‑Resistance Liquidity Traps – Guide
Low‑resistance liquidity traps can erase a day trader’s gains in minutes. This guide shows how to detect thin order‑book zones, adjust spreads, and set exits that keep you out of the most common pitfalls.

How ICT Traders Identify High‑Probability Order Blocks
ICT traders rely on institutional liquidity and precise market‑structure cues to locate order blocks with a statistical edge. This guide breaks down the mechanics, step‑by‑step identification, and pitfalls to watch.

Rejection Blocks: Trade Long Wick Reversals Precisely
Rejection blocks formed by long‑wick reversals offer a disciplined entry point for traders who respect market structure. This guide explains the mechanics, shows real‑world EUR/USD and AAPL setups, and provides a clear, risk‑aware workflow.

How to Identify True Market Structure Shifts vs Fakeouts
Distinguish genuine structural breaks from deceptive fakeouts with a step‑by‑step, data‑driven approach. Real chart examples and actionable tips help traders of any level improve entry accuracy and protect capital.

bpr (balanced price) Strategy: Reversal Entries Explained
The bpr (balanced price) strategy isolates tight price corridors where supply and demand clash, then uses candle patterns and volume clues to catch reversals. This guide walks you through identification, entry mechanics, and risk control with real market…

How to Identify Institutional Sponsorship in Price Action
Institutional players leave distinct footprints in price charts. By decoding volume spikes, order‑flow imbalances and liquidity voids, traders can uncover hidden sponsorship and improve entry timing.

ICT Breaker vs Mitigation Blocks: High‑Probability Guide
A side‑by‑side comparison of ICT breaker blocks and mitigation blocks shows when each pattern offers the best entry odds. The guide walks you through formation, trade execution, and common pitfalls.

How to Identify Valid vs Invalid Fair Value Gaps for Traders
A fair value gap can be a powerful entry point, but only when it’s validated by order‑flow and price‑action filters. This guide shows how to spot genuine gaps, avoid traps, and apply a disciplined workflow.